GUIDE TO CANON AUTOFOCUS ADJUSTMENT AND GETTING YOUR LENS SETUP JUST RIGHT
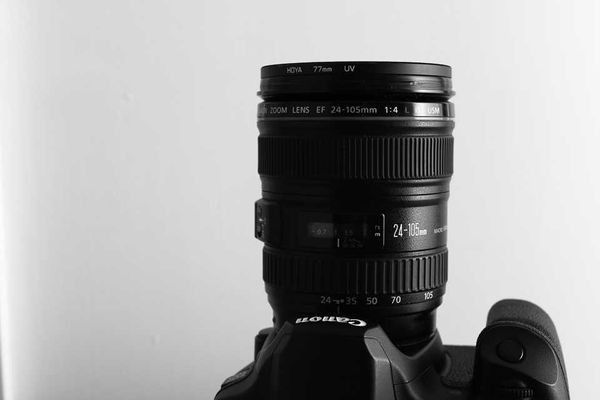
Imagine you’ve bought yourself a shiny new lens, but somehow the autofocus doesn’t lock on properly. We’ve had no trouble with our Canon 24-105, but had such a problem with our Sigma 35mm f1.4. It’s reasonably widely reported problem with this lens and some others in the Sigma range. Check out our quick guide to optimising the autofocus adjustment for a particular focal distance.
WHAT IS AUTOFOCUS ADJUSTMENT?
Autofocus adjustment is a way of fine-tuning the autofocus mechanism on your camera. Autofocus in modern DSLRs is a group effort between some electronics in the lens and the autofocus sensor inside the camera body. With some third party lenses this communication is reverse-engineered, so perhaps the lens reports that it has achieved the position the camera requested, but in reality the lens hasn’t quite made it. You can use autofocus adjustment to offset the position the camera requests by a certain amount, ensuring that when the lens flags that it has achieved focus, the image is as sharp as possible.
HOW DO I GET AUTOFOCUS ADJUSTMENT RIGHT?
It’s actually a pretty easy process to get your adjustment just right – and you don’t need to spend tons of money on a fancy setup like a Lens Align. In fact you just need a few things plus your camera and a tripod. Some patience helps too of course!
Obviously you’ll need your camera. You need to make sure this is setup roughly 25x the focal length of the lens. So with our 35mm, we went for between 750mm and 1m away from the front of the lens. Use Av mode and set the aperture to the widest.
Your ISO focus chart is a chart designed to be really easy for the camera to lock focus on. It’s mainly used to test the sharpness of lenses and resolution of sensors, but we’re going to use it to get the camera’s autofocus just right.
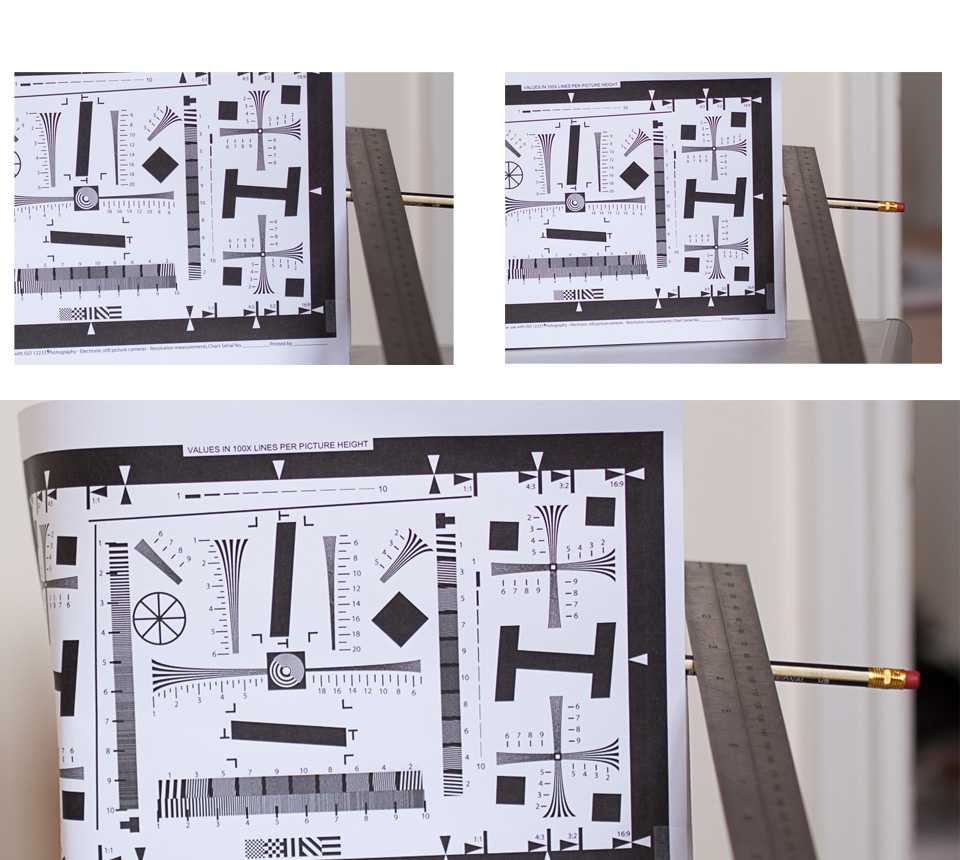
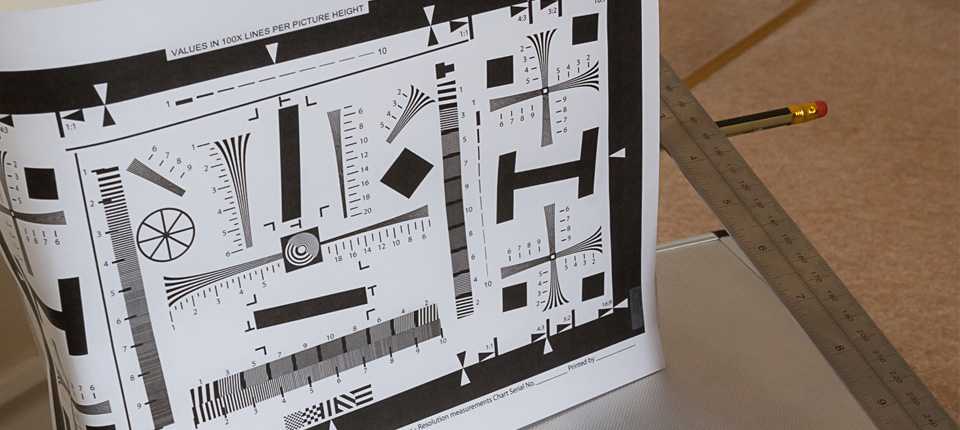
This is the easy part. Tape the chart to the front of the box, with the pencil taped in the centre of the chart. Balance the ruler so it sits on the pencil and extends back and forth diagonally.
SETUP
So the idea here is to setup the equipment such that you start the camera’s autofocus and read using the ruler whether the camera is front- or back-focusing. Then you can use the camera’s built-in autofocus adjustment to setup the lens just right. When you’re done it should look something like our setup below. We’re a bit keen and had an engineer’s ruler lying around, but any ruler should do – it’s more about determining whether you need to adjust the autofocus adjustment toward or away from the camera to get perfect focus. The most important bit is to get the camera aligned horizontally (so it looks at the chart ‘flat’) and the sensor parallel to the chart (so there is no diagonal offset either).
You need a brightly lit room for this to work perfectly. Start by setting the camera to its centre focus point as it’s usually the highest performing focal point. Take a photo. If you’ve got a camera which can shoot tethered, this is the ideal time to do that. Adobe haven’t got round to supporting the 70D yet in Lightroom, so we were back and forth with the SD card. However, once you’ve got them on the computer you can adjust the lens to suit: using the camera’s menu (in our case it was Menu->CustomFunctions->C.Fn II Autofocus->Adjust by lens. This gives you a nice graphic so you can work out which way to adjust!
RESULTS
Here’s our first few attempts, viewed at 100% and cropped right on the ruler. You can see that the camera is locking focus quite a way behind true focus to begin with. However with some adjustment, it gets pretty much spot on.

We’re pretty pleased with the result – it certainly saved spending £100 on a LensAlign! Our top tip is to make all the adjustments using the chart but make sure you go out and take some real photos too. See if you notice a difference in a real world context. We saw a significant change. The 35mm f1.4 was missing focus pretty much every time until we changed the autofocus adjustment. We’ve been happy ever since!
Any questions? We'd love to hear from you!
Ready to make the best investment for your wedding? Use the contact page to find out if we're free on your chosen date.